Printing Excel spreadsheets is one of the best ways to share data. You may also use this method to store important documents in your office. Formatting spreadsheets before printing is necessary to have a good print.
You can format the content using the Page Layout and View Ribbon settings. These ribbon settings will allow you to see how the printed sheet will look.
You can adjust margins, change page breaks, make quick changes, and print selected cells using different settings to print documents in the right format.
Commonly Used Basic Printing Options
Before moving on to explain more advanced printed sheet layout formatting, let's briefly discuss commonly used basic printing options first.
While printing from the File menu, you can control how many copies you want to print, choose your printer type, set the active number of printing sheets, change the orientation of the document, adjust margins, and scale the printout to fit the actual page size. On the right side, you can preview what you are going to print.
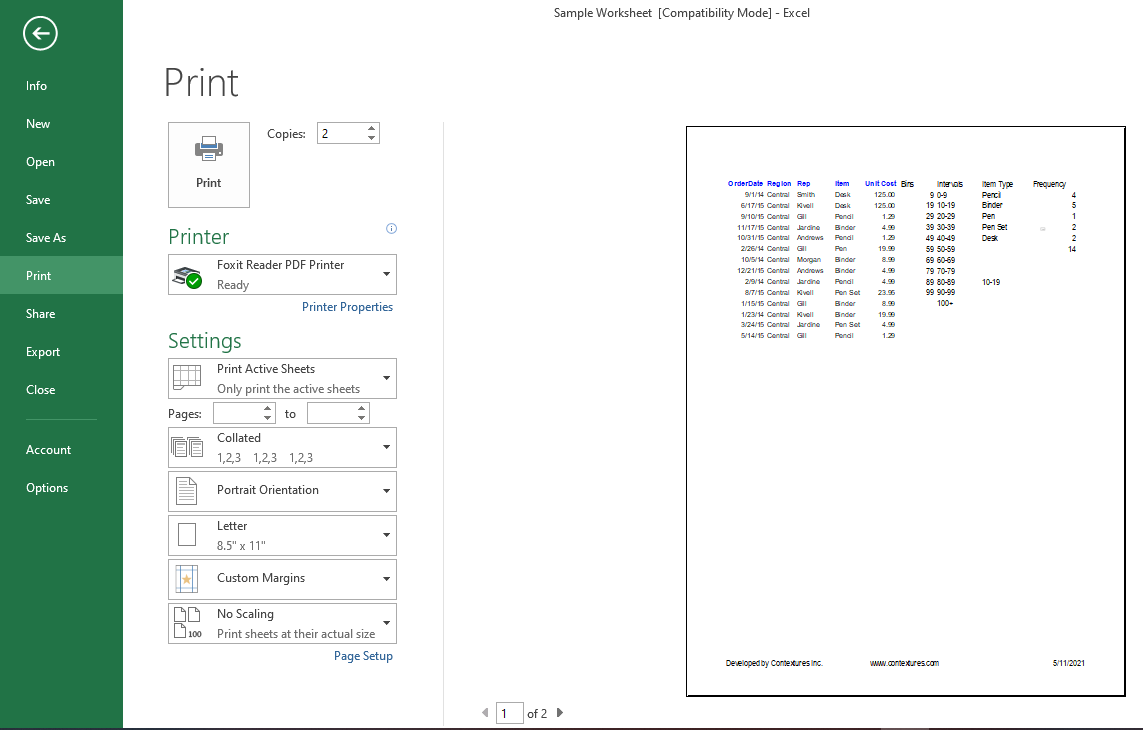
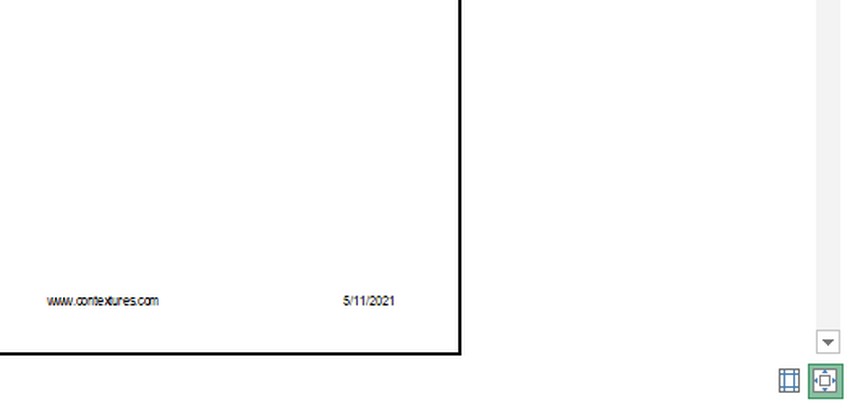
There are two boxes at the bottom of the right-hand corner allowing you to either show or hide margins. You can also zoom in or out to have a better look at the preview while staying in the same window.
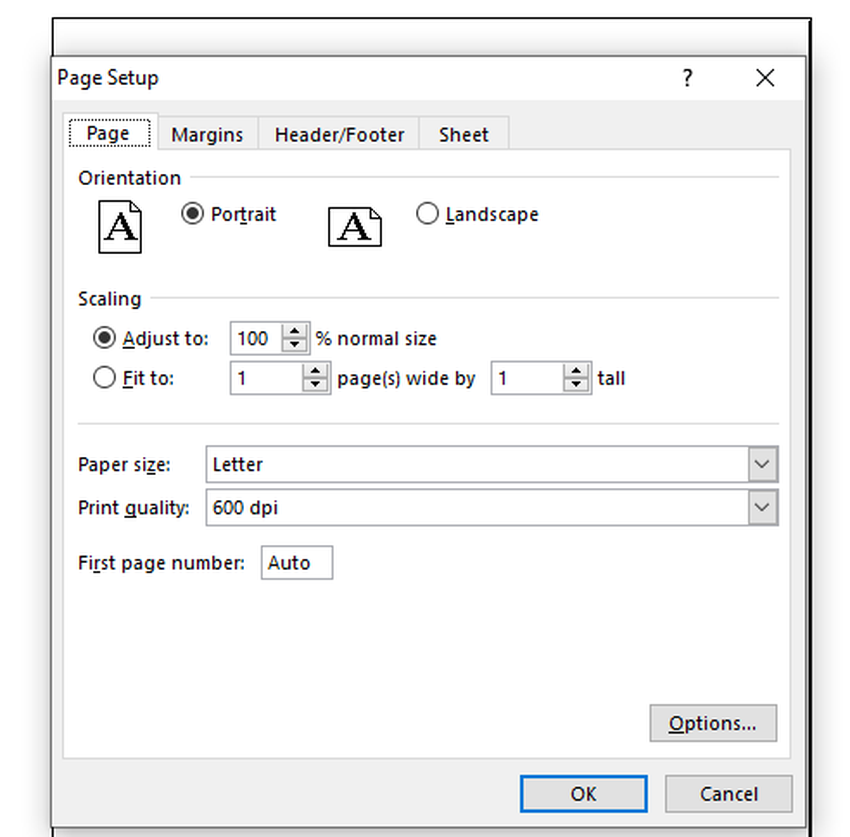
Page setup link located below Print settings gives you the choice of changing margins on each of the four sides individually. You can also add headers and footers to the excel sheet to set the name of your workbook.
Except for that, no other control over the content is available with these basic settings.
Other Views to Preview Printing Sheets:
While printing sheets from the file menu, the preview is not detailed, particularly large sheets with more columns. You can have a more in-depth look at the printing sheet by going into the Page Layout View in the View ribbon.

The Page Layout View lets you see how it will print the page and, if there are multiple pages, you can see them all at the same time to compare data side by side.
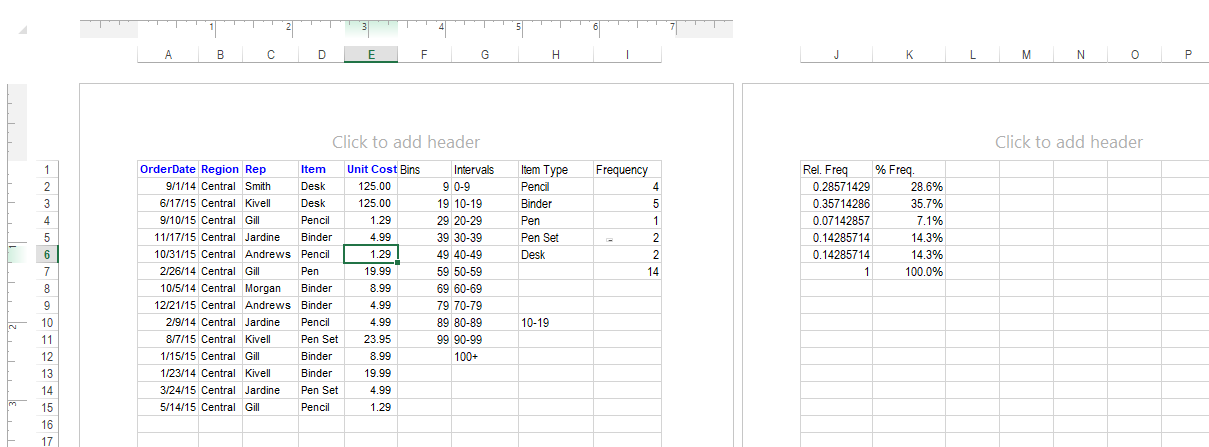
This is probably the best way to determine if the entire page is printable on a single page or not. Excel will transfer a few rows to the second page if it cannot fix too many rows in one sheet.
Furthermore, you can zoom in and out for a clearer view of data that you do not get in the preview window displayed in the File menu.
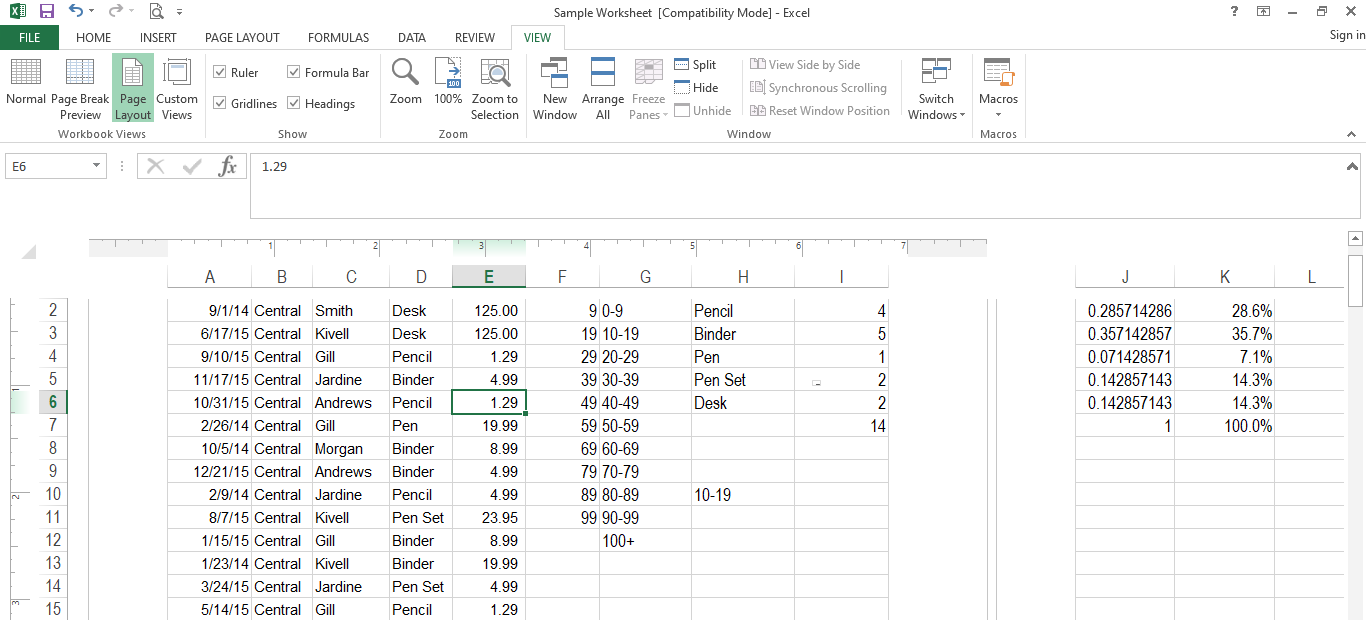
Another vital edge that you can get in this view is to make changes in individual cells in real-time. You have access to all commands and options you generally have when working on sheets in this view.
Therefore, by looking at how it will print the sheet, you can bold any text, remove it, or replace it with a single keystroke.
Page-Break Preview in the View Ribbon
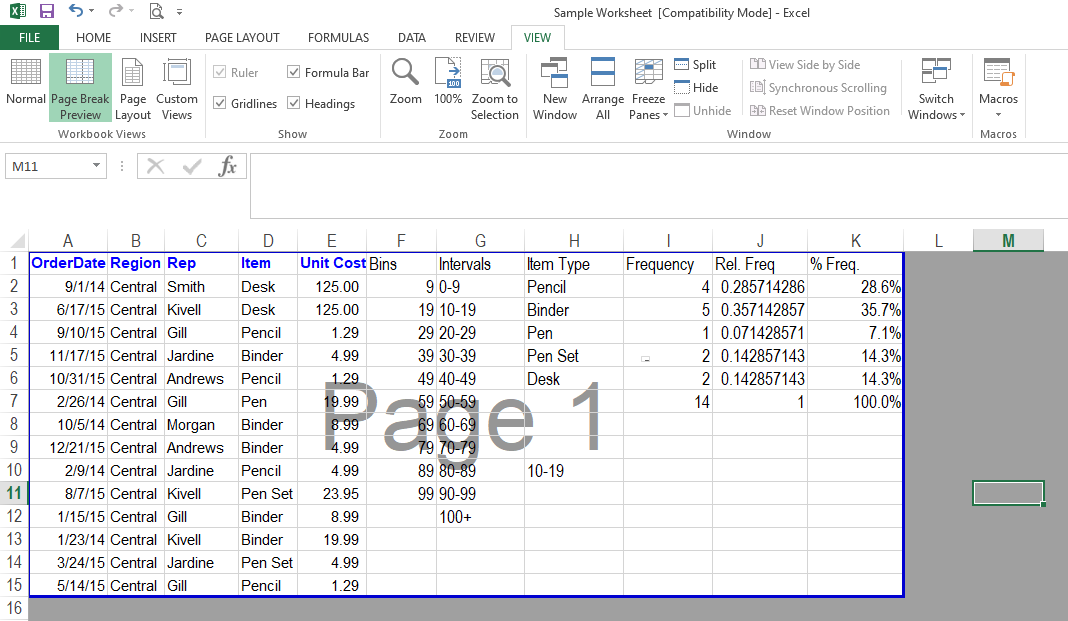
This view allows you to see the page breaks in your spreadsheet. If you want, you can adjust page breaks by simply dragging and clicking with the help of a mouse.
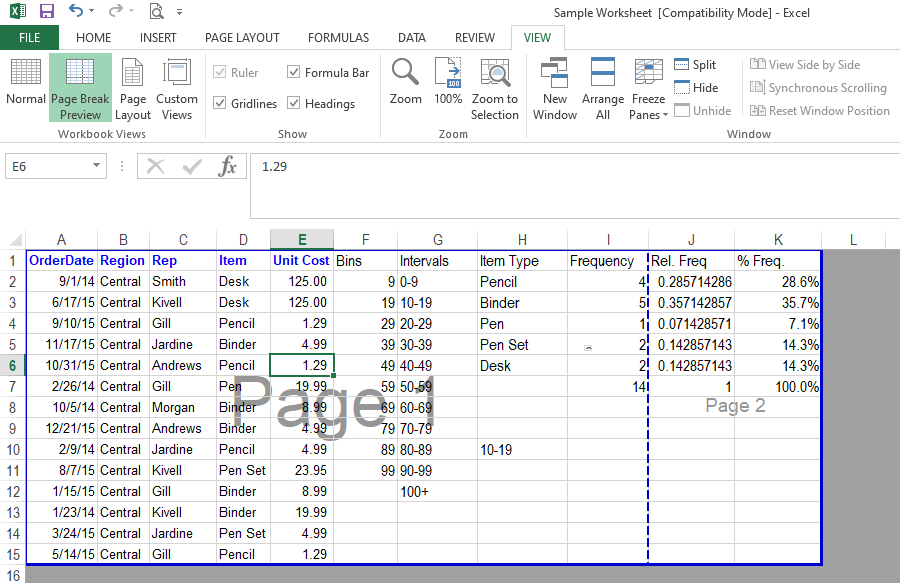
The default color for the page breaks is blue. Remember, the page breaks can be placed anywhere between any row, regardless of how many rows are available in the excel worksheet.
However, by adjusting the page break, you can set everything on one page without having it go to the second page. Thus, it helps in getting the print of the whole worksheet on a single page.
Page Layout Tab Settings:
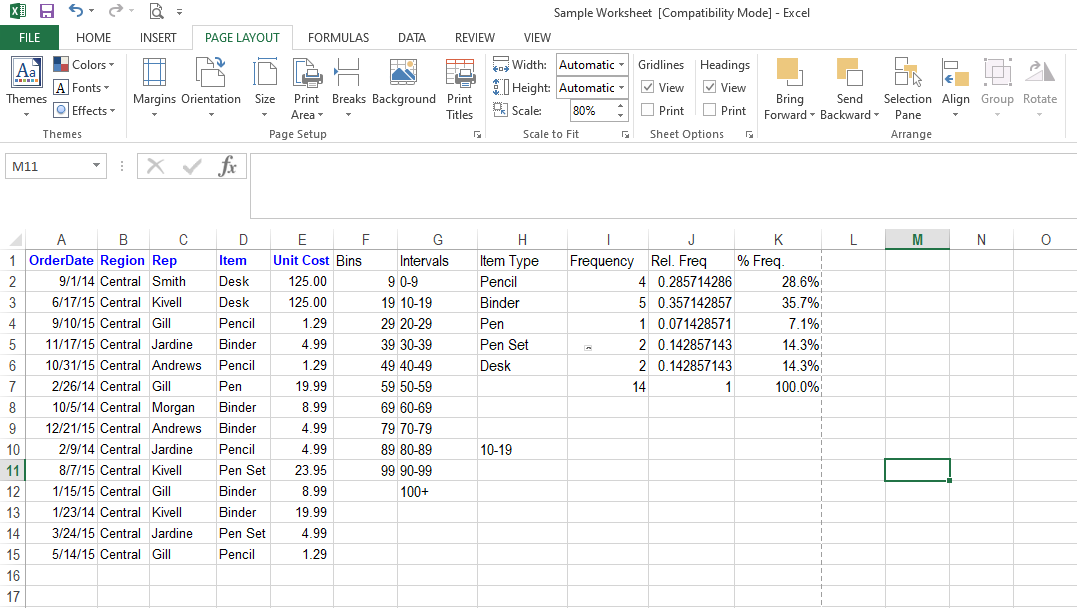
You can adjust margins, orientation, and page size in the same way you do in basic print preview settings in the page layout tab.
However, you can also access some other options only from here, like Print Area, Backgrounds, adjusting page breaks and printing titles, and a few other minor adjustments.
Related: Excel Printing Tips You Should Know About
Selecting Cells for Printing:
Excel, by default, prints only the active rows in the spreadsheet. This means it detects the last active cells in the spreadsheet and prints data starting from A1 to the last active cell.
Thus, excel will automatically print the active cells in a worksheet without having you to make a specific cell selection. Sometimes you may want to print only specific cells and not the whole worksheet. You can also do this in few simple steps.
Let's say you wish to print data starting from cell A1 till D7. Use the steps below to print your desired range of cells from the whole workbook.
1. Select the range of cells from A1 to D7.
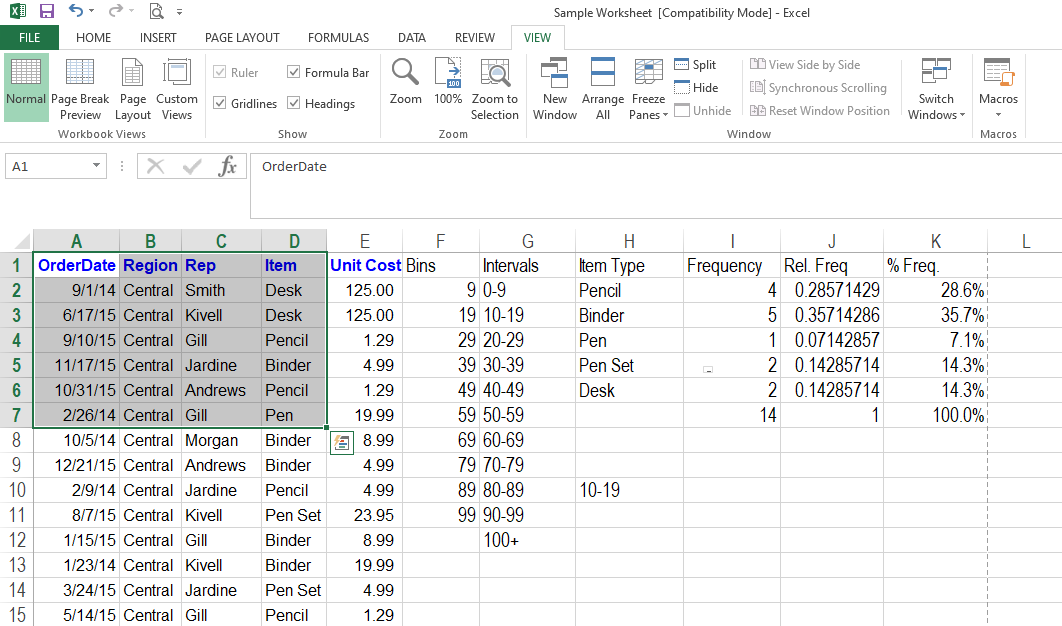
2. Go to Print Area in Page Layout Ribbon.
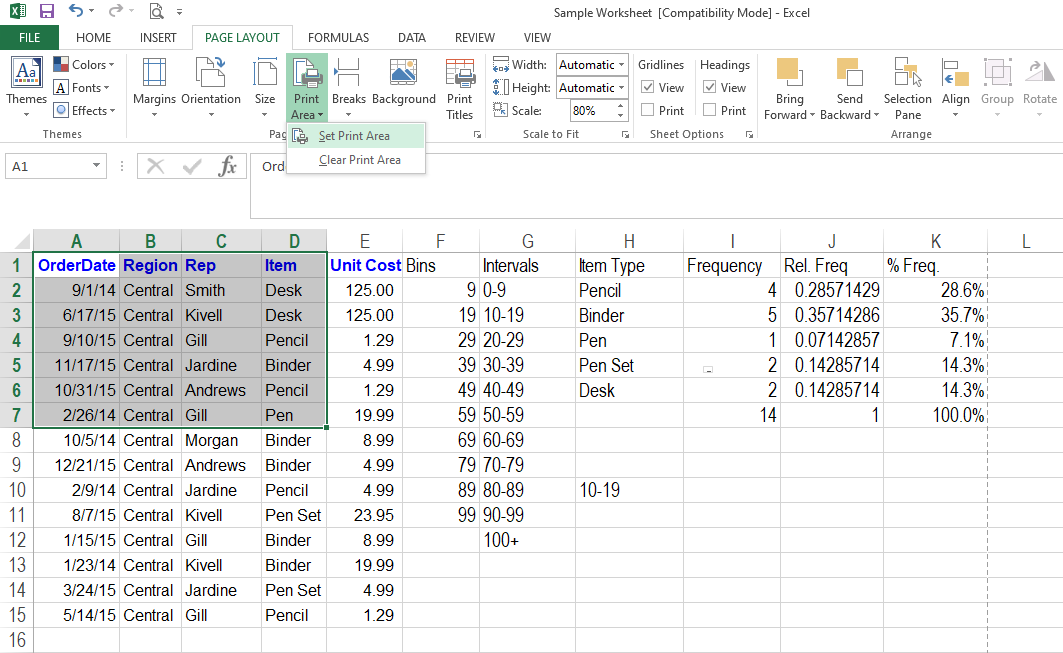
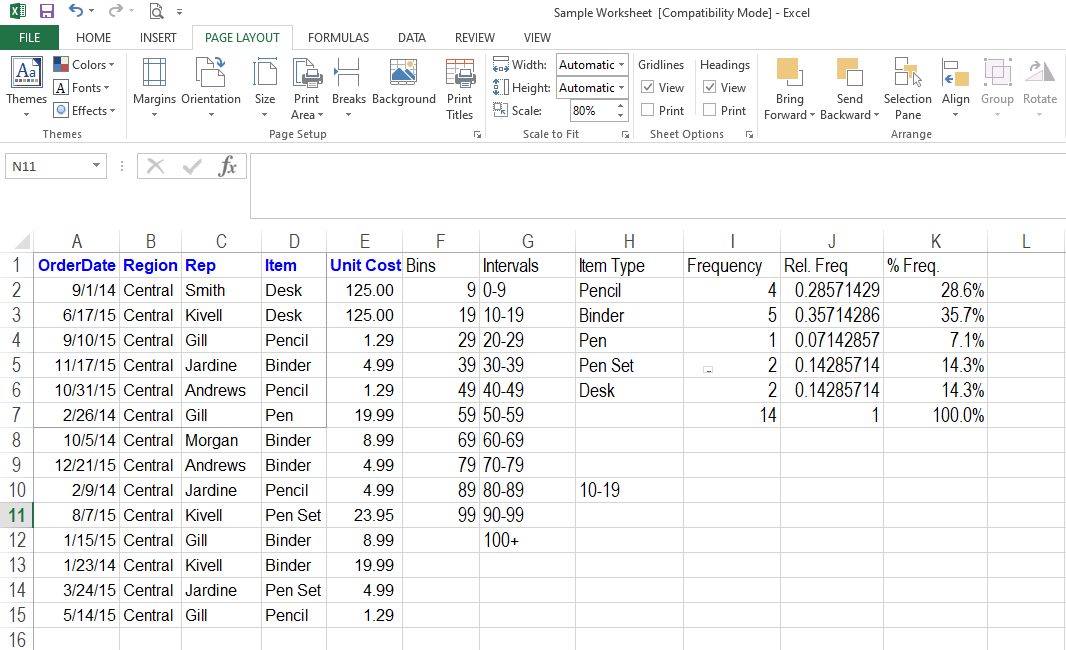
3. Click on Set Print Area, and Excel will show you a preview with a dotted line around your selected entries.
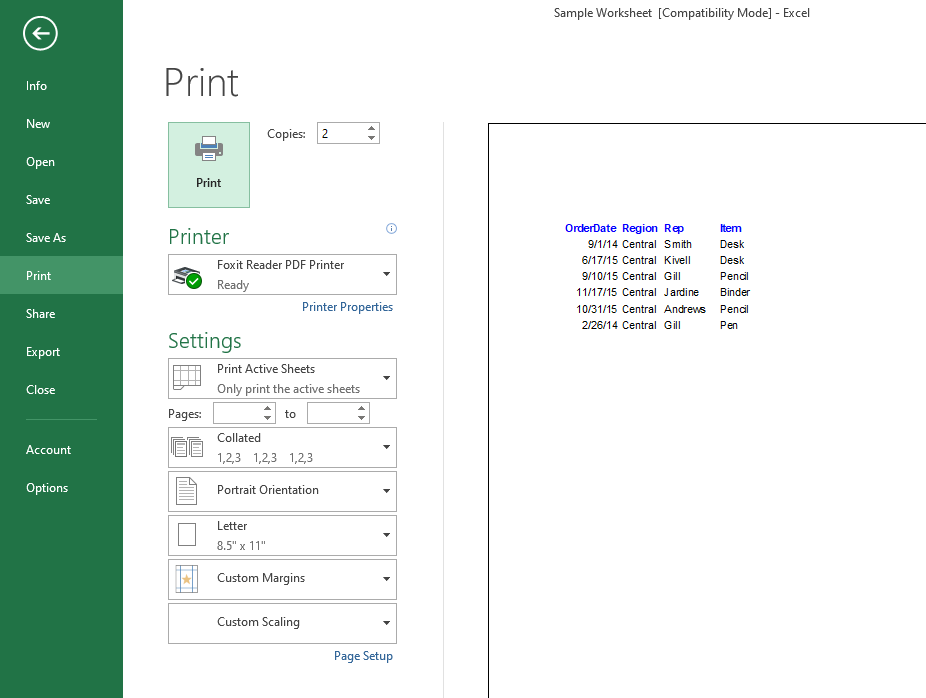
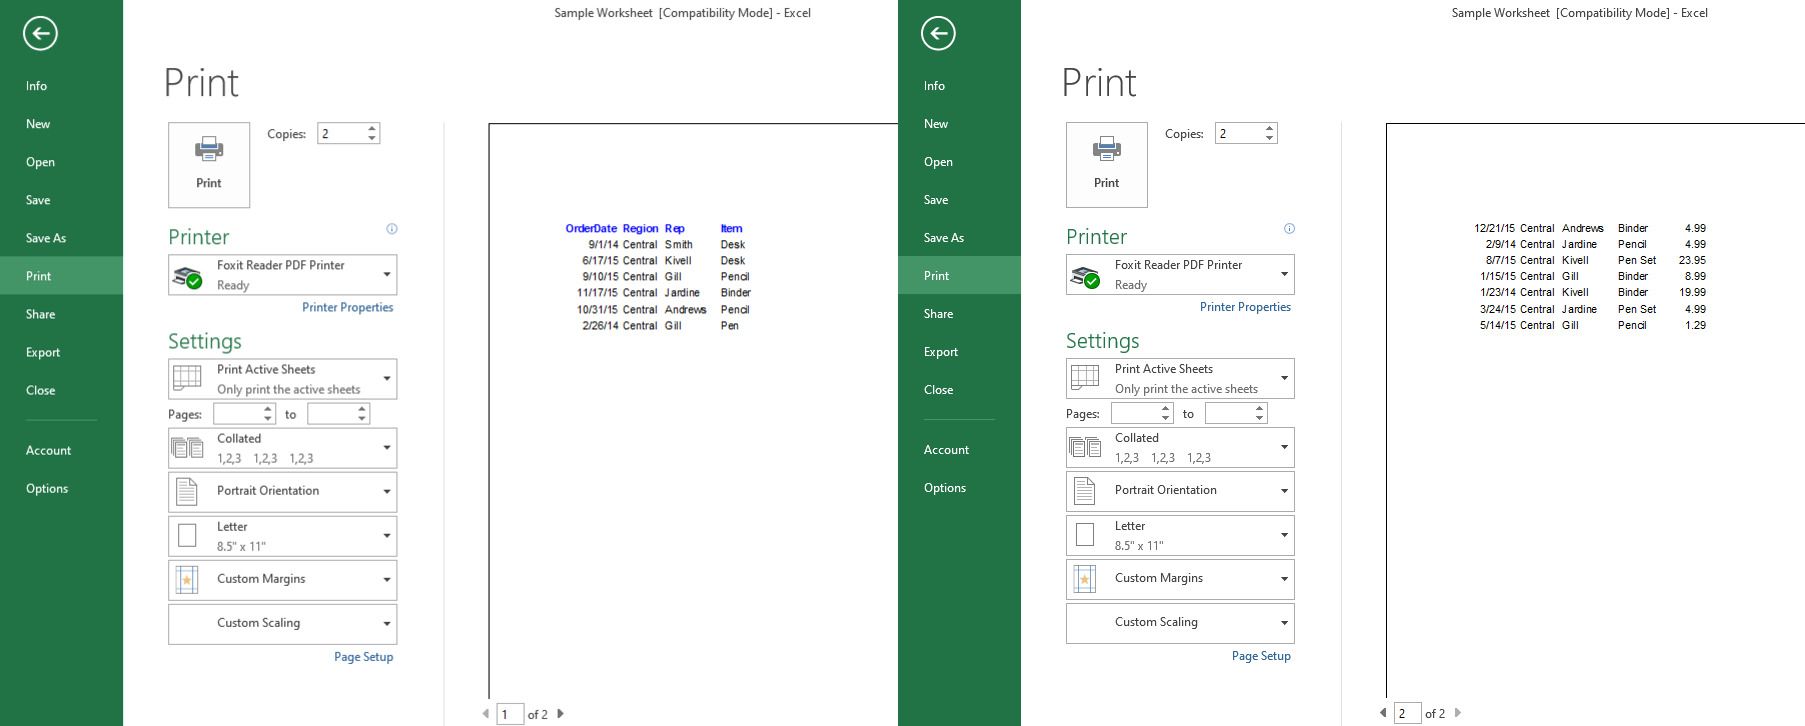
If you print the spreadsheet from the File menu, the preview will only display the selected information.
Likewise, you can set more than one print area, and Excel will let you print them on separate sheets.
Related: How to Fit Your Excel Spreadsheet to Your Screen
Printing Multiple Copies of a Single Document:
Collated and Uncollated are two different ways to print multiple copies of the same workbook with many pages.
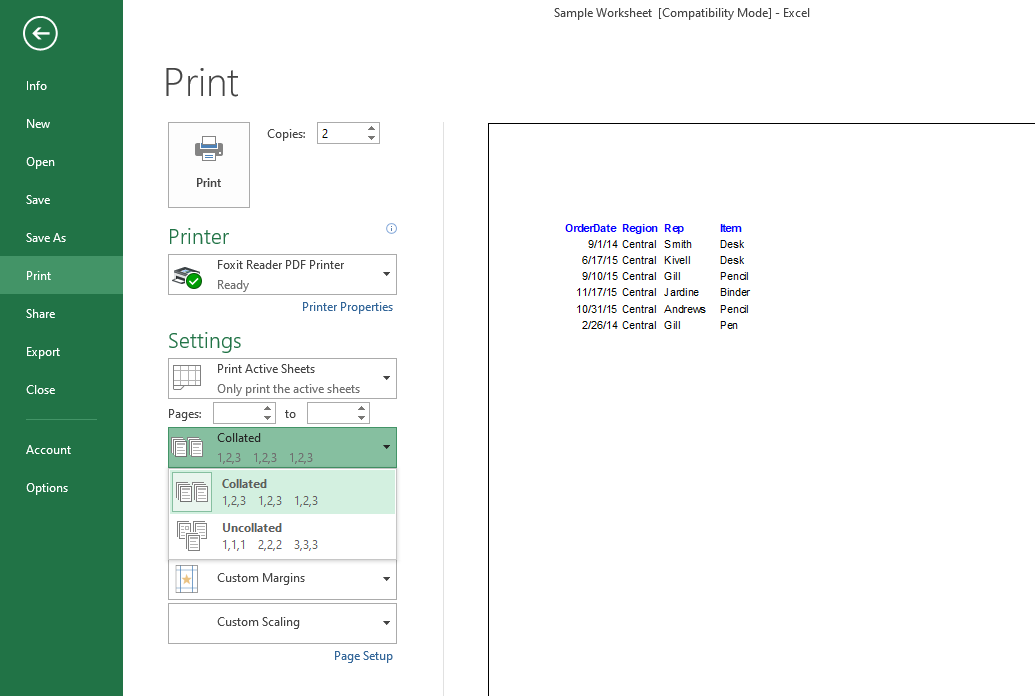
Let's take an example of printing a workbook of 30 pages to briefly discuss both ways.
- Collated: Using this printing option, excel prints documents in three sets starting from pages 1 through 30. For the first time, you'll get a printout of all 30 pages. After that, it prints the document again from beginning to end, and then it does it a third time.
- Uncollated: In uncollated printing style, excel will print each page three times before moving to the next page. That means, it will print the first page thrice before printing the second page three times. The same goes for the rest of the pages in the document.
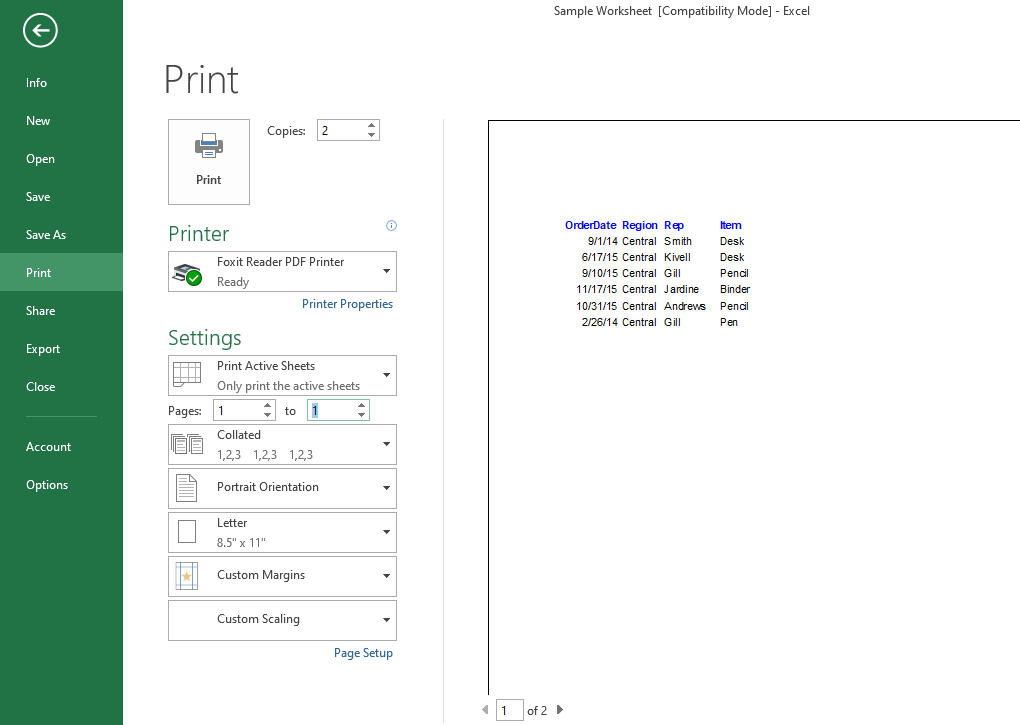
If you want to print only a few pages from the whole workbook, you can filter the page numbers in the File Menu settings and then print them using either the collated or uncollated printing option.
Shortcut to Print Excel Sheets:
Ctrl + P will take you to the print window in the File menu so you can print the document instantly. This also applies while printing selective entries.
Make Printing More Easy and Accurate:
If you print spreadsheets almost every day at the office, school, or business workplace, the View and Page Layout tabs enable you to make final edits to the data before printing.
Correctly formatting the data will save you time and effort by not printing the wrong format.

